

Golabki are delicious! And scrumptious. And oh-so-good. And also very inexpensive to make. Is it obvious yet how much we love golabki?
BUT they can seem daunting and scary to make, if you've never done it before, and if you're trying to do it by reading instructions, with no visuals. At least I know I require visuals, which is why I learned it from my mother-in-law.
In case you think you don't know what golabki are, you do! They are stuffed cabbage rolls. Some people call them pigs in a blanket. But if you're truly Polish, they're golabki.
The point is, I've decided to make a step-by-step set of photo instructions to show you how to make golabki. Or, more specifically, how to roll golabki once you've got the easy steps done. Here we go!
Start off with my recipe for golabki. Here it is:
Ingredients:
1 medium head of cabbage
1 large can of tomato juice
1 medium chopped onion
1/3 cup uncooked white rice
1 lb. ground beef
2 TB butter
salt & pepper to taste
Directions:
1. Melt butter in a pan, and fry the onion until translucent. Meanwhile, core head of cabbage, place in boiling water and boil until partially cooked. Carefully separate the leaves and trim off the stems. Set aside the torn or smaller leaves and line the bottom of a roasting pan with them.
2. In a large bowl, mix together the ground beef, onion, and rice.
3. Take even amounts of beef mixture and roll into the cabbage leaves, folding over and then tucking the sides in and continuing to roll until secure. Place the rolls into the lined roasting pan.
4. Place leftover heavy leaves on top of the rolls to keep them from floating or coming undone. Fill the roasting pan with the tomato juice. Cover and bring to a boil. Reduce heat, and allow to simmer for 2-3 hours, or until cabbage is fully cooked.
Okay! So, after you've done steps 1 and 2 (fried one onion in butter and mixed it with your meat and rice, and steamed, peeled, and reserved all the cabbage leaves from the head), the next step is getting your assembly station all together on the table:
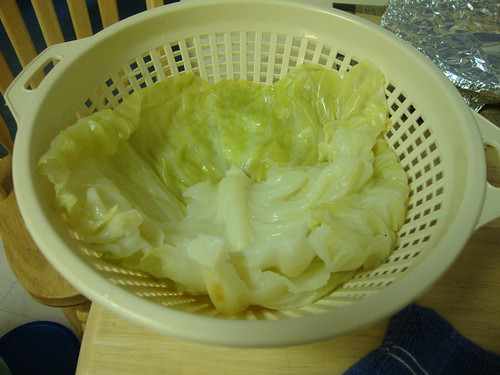
Here's my good cabbage leaves.
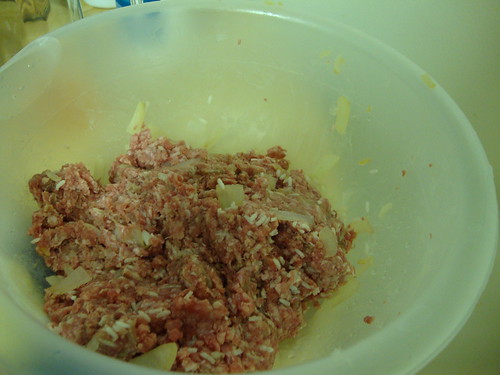
Here's my ground beef, onion, and rice mixture.

And here is my golabki helper, and future golabki-lover. It's not necessary to have one of these, but it's pretty much the best part of the whole process.

Now, see this stem? We want to cut it off and get rid of it. It's hard and not very good to eat, in my opinion.
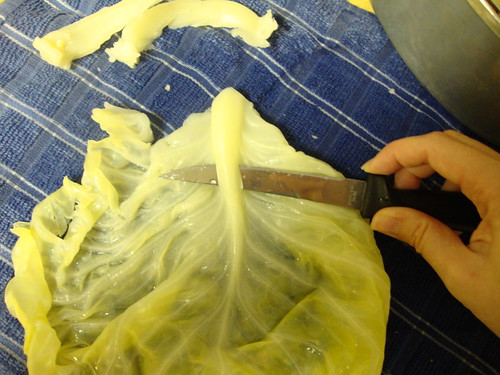
So, with a knife, carefully slice under the stem, being sure not to rip through the leaf. You're just slicing off the toughest layer of the stem.

This is basically what it'll look like afterwards. Much better! And now you're ready to start rolling the cabbage.
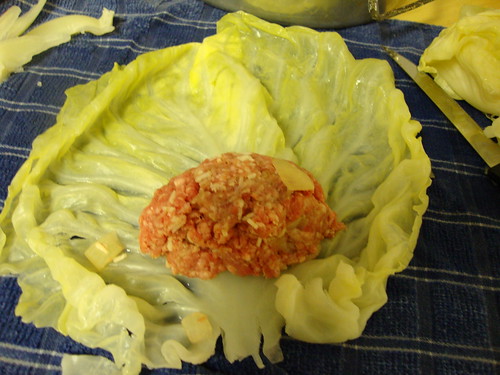
Take as much of the stuffing mixture as you think your leaf can handle, and plop it down toward the bottom. But leave that little space at the bottom, enough so that you can fold it up and over the meat.

So fold the bottom piece of the leaf up and over the meat, and then start rolling. Tuck your sides in close, like this. Be gentle, but make it snug!
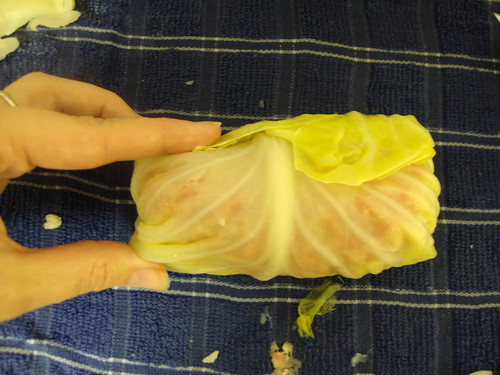
When you're done rolling, it should look like this. Cute, ain't it?
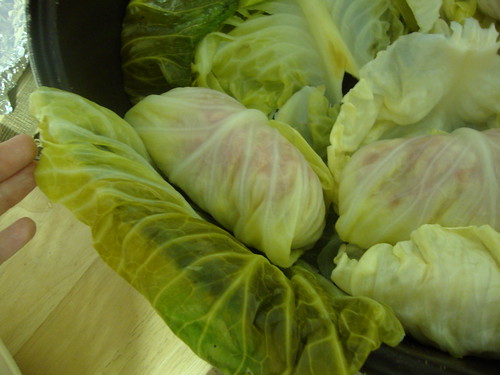
Now, you stick him into the pan with the other ladies and gentlemen. As you can see here, I use a big roasting pan, and I line the bottom and sides with extra leaves or ones I tore while peeling (oops).
I tucked him in there nicely, and folded that extra leaf over. It keeps them snuggly so they don't float up and away and come unrolled while cooking.

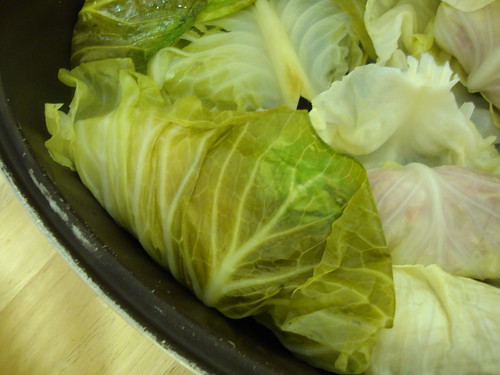
So, once they're all in there...
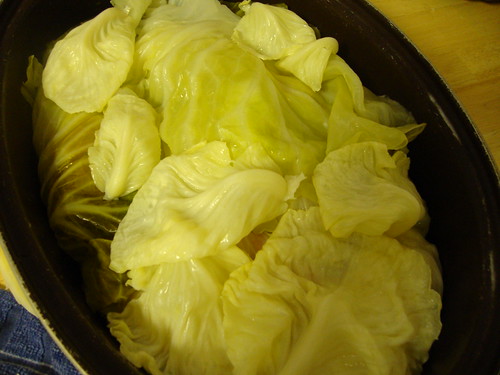
You cover them up with even more leaves that were left over. I use the denser, heavier leaves from closer to the center of the cabbage head for this. This way, the golabki won't float and unroll when simmering.
Now, you stick your pan on the stove and pour in the tomato juice. I use one big can of tomato juice - not sauce! - juice!
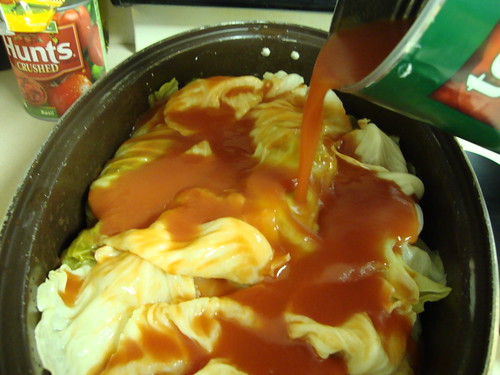
Ignore the crushed tomatoes. That's a different recipe.
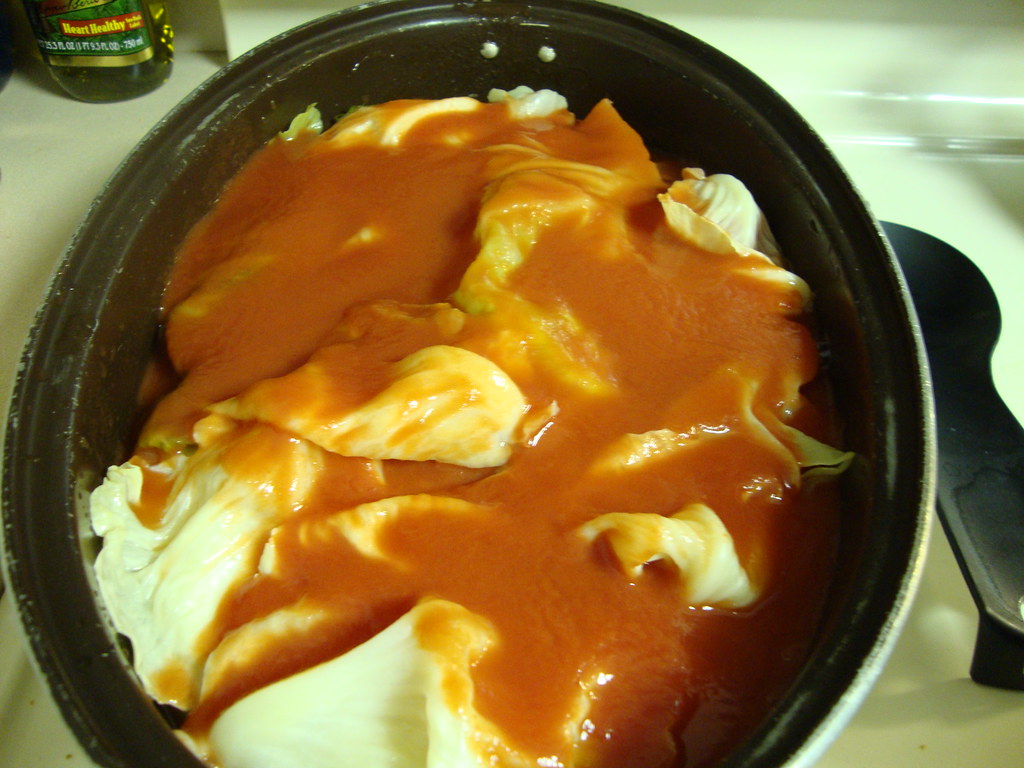
All Tomato-ey.Now we're getting there!
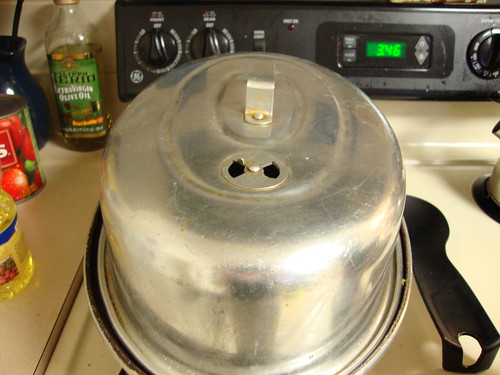
And, finally, cover the roast pan and let these guys simmer. They'll simmer for a few hours. The details about all of that can be found in the actual recipe.

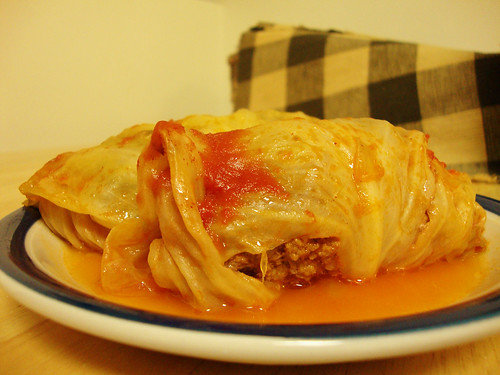
And just when you thought you couldn't wait any longer to eat them, there you are. Yum!
My next venture in Polish cooking will be homemade pierogi. I need to perfect them before Lent! So, stay tuned for my first attempt at making them!
This post is participating proudly in Foodie Friday, The Grocery Cart Challenge Recipe Swap, and Frugal Fridays.


Could have used you at our church fair last year. We made hundreds and not a one was left! The women at our sister church make pierogi from scratch for their fair. I only make them for Christmas eve and sometimes during lent! Loved your tutorial. nancy
ReplyDeleteI just found your blog by foodie friday, and I am going to make these, my husband is Polish, and he will love these..I wonder if you could substitute brown rice for the white? I am now following you...don't want to miss a thing!
ReplyDeleteGreat post! I'll have to give these a try.
ReplyDeleteBlessings!
Gail
Megan, these really look delicious. I made cabbage rolls when my children were young. The only problem was they'd unwrap their rolls and eat only the filling :-). Patience is learned in many ways. Your little guy is a doll. Have a great weekend.
ReplyDeleteI commented on your other blog, but I'm excited- I'm trying these tomorrow.
ReplyDeleteThis is close to my Busha's (great-grandma) ancient recipe that I now make..so I'm sure it is very tasty :)
ReplyDeleteHere is our variation: a Family Friend's Recipe
ReplyDeletehttp://justasmidgenoflove.blogspot.com/2011/09/in-remembrance.html